Follow Me On Social Media!

Easy Homemade Artisan Bread: The Best Recipe for Beginners
Introduction to Easy Homemade Artisan Bread Recipe
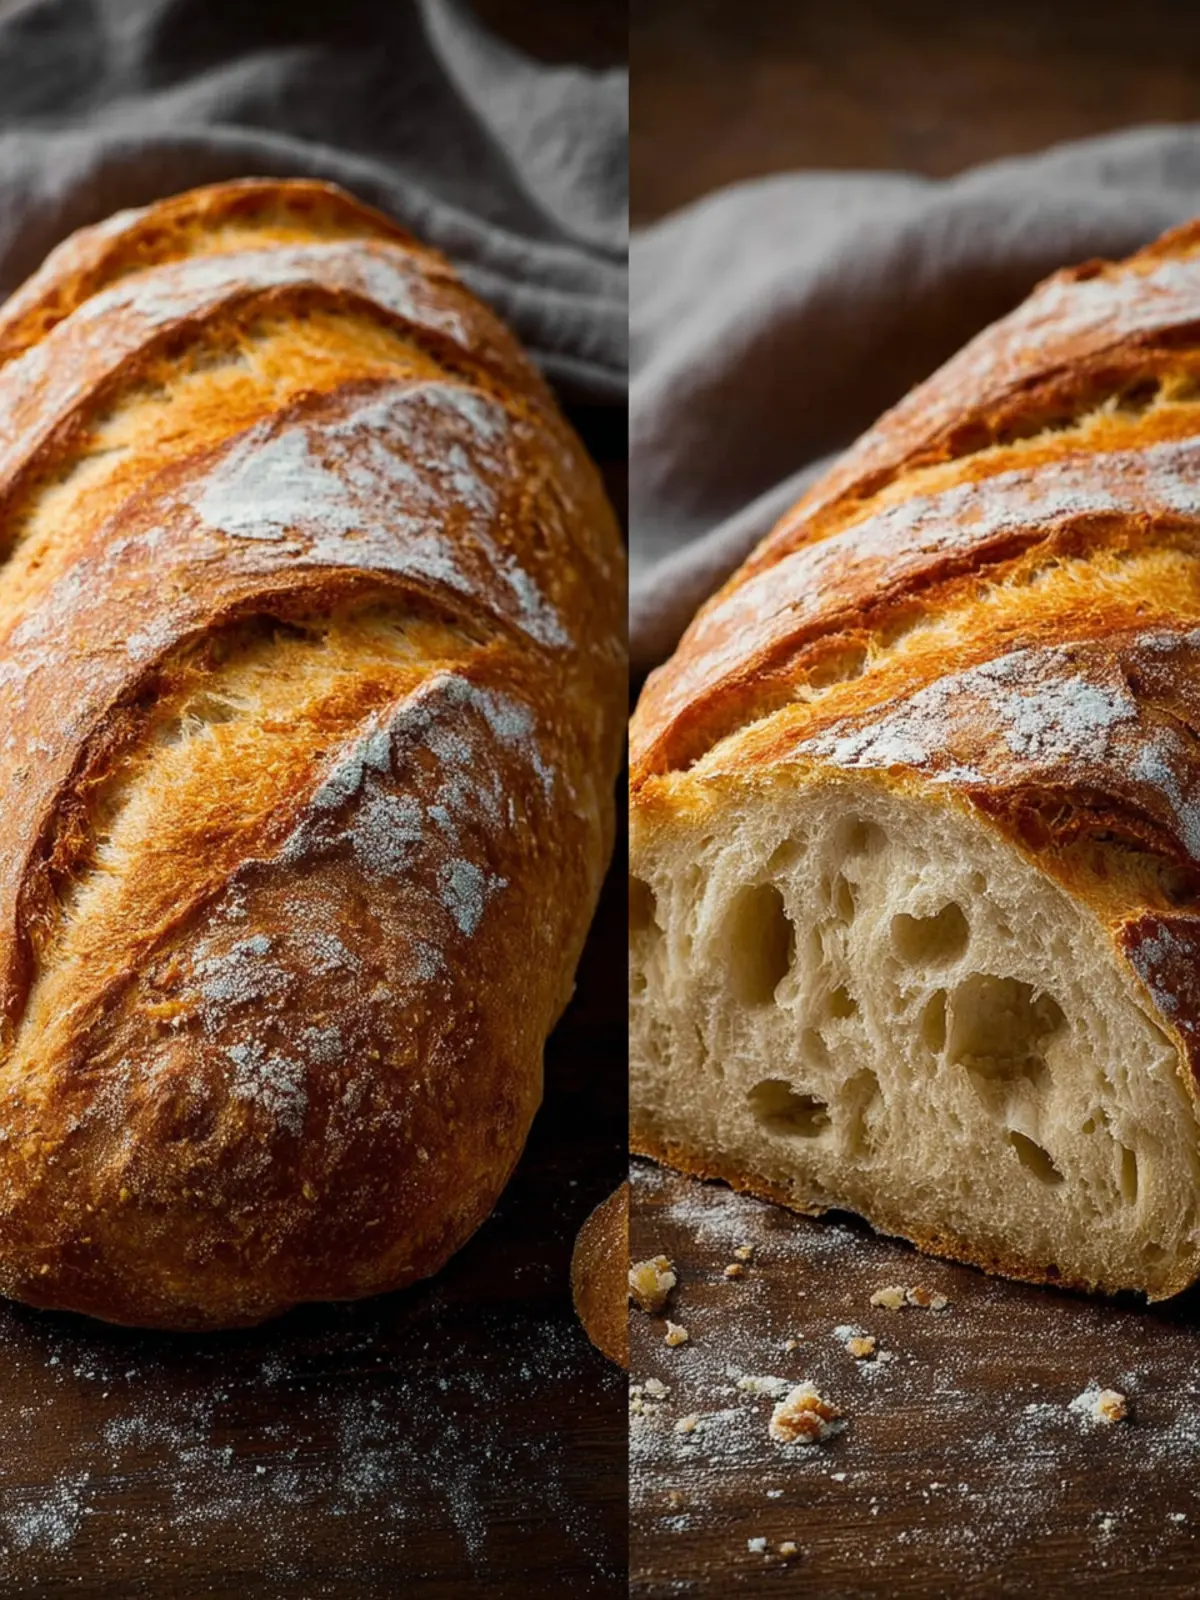
Every time I whip up a batch of easy homemade artisan bread, it feels like I’m embarking on a delicious adventure that transforms my kitchen into a cozy bakery. The aroma of freshly baked bread wafting through the air is nothing short of enchanting. Just imagining the golden crust and soft, chewy interior can make anyone a bread lover, even if you’ve never baked a loaf before!
Now, you might be wondering, what’s the charm behind artisan bread? It’s not only about the delectable taste and texture but also about the uniqueness each loaf brings. Unlike your regular supermarket bread, artisan bread is handcrafted, often made with high-quality ingredients, and typically undergoes a longer fermentation process. This patient approach allows the flavors to develop beautifully, giving the bread its character and depth that prepackaged varieties simply can’t match.
The beauty of making easy homemade artisan bread lies in its simplicity. You don’t need to be a skilled baker or have a ton of fancy equipment; all you really need are a few basic ingredients, a little bit of time, and a passion for baking. The process of mixing, kneading, and waiting for the dough to rise can be incredibly fulfilling. Plus, there’s something primal and rewarding about making bread from scratch— it connects you to a tradition that spans centuries and cultures.
This recipe is designed for everyone, especially young professionals who may feel pressed for time. You can effortlessly adapt the recipe to fit your schedule; just let the dough rise overnight in the fridge if that’s more convenient. After all, homemade bread is a treat that’s well worth the little extra effort.
Join me on this flavorful journey, and soon, you’ll find yourself not just baking bread, but also creating memories and sharing delightful moments with friends and family, one loaf at a time.
What makes artisan bread so special?
Artisan bread captivates the heart and palate with its unique qualities. Here’s what sets it apart:
- Handcrafted Nature: Each loaf is lovingly crafted, resulting in distinct textures and flavors.
- Quality Ingredients: Typically made with a few simple, high-quality ingredients, leading to better taste.
- Fermentation Process: Longer fermentation times enhance flavor complexity and improve digestibility.
- Creative Freedom: You can experiment with different flours, herbs, and add-ins, customizing your bread to suit your tastes.
With easy homemade artisan bread, every baking session becomes an opportunity to experiment and create something truly special. Let’s dive into the ingredients that make this recipe come to life!
Key Ingredients for Easy Homemade Artisan Bread
Flour: The foundation of your easy homemade artisan bread, I recommend using high-quality all-purpose or bread flour. Bread flour has a higher protein content, which helps create that desirable chewy texture. For a unique twist, try incorporating whole wheat flour for added flavor and nutrition.
Water: Simple yet crucial, the water activates the yeast and hydrates the flour, bringing everything together. Use room temperature water for a perfect balance; too hot can kill the yeast, while too cold will slow it down.
Yeast: Opt for active dry yeast for consistent results. It’s important to bloom the yeast in warm water before mixing to ensure it’s alive and kicking, giving your bread the lift it needs.
Salt: This is not just for flavor but also helps strengthen gluten structure. Too little salt and your bread can taste bland, too much can hinder yeast activity.
These ingredients come together to create a delightful loaf that’s sure to impress. Enjoy the process, and savor the rewarding aroma of freshly baked bread!
Why You’ll Love This Recipe
The magic of homemade bread
There’s something truly enchanting about the scent of easy homemade artisan bread wafting through your kitchen. As it bakes, the warm, yeasty aroma fills your space, beckoning family and friends to gather around. Imagine pulling a golden loaf from the oven, crusty on the outside and soft on the inside, ready for that first bite slathered in butter.
What’s more, making bread at home is not only satisfying but also deeply rewarding. You get to control the ingredients, ensuring everything is fresh and free from preservatives. The simplicity of this recipe means you can whip it up on a busy weekday or a relaxed weekend, making it truly versatile. Plus, there’s an art to kneading and shaping the dough, allowing you to channel your inner baker.
Many people underestimate the joy that comes from kneading dough; it’s almost therapeutic! And the best part? You can customize your bread with herbs, spices, or even cheese, turning this easy homemade artisan bread recipe into a canvas for your culinary creativity. So grab your apron, and let’s dive into the delightful world of bread-making!
Tips for Making Perfect Artisan Bread
Secrets to Success
Crafting easy homemade artisan bread is a rewarding experience that can delight your senses and elevate any meal. Here are some essential tips to ensure your bread turns out perfect every time:
-
Quality Ingredients Matter: Start with high-quality flour. I recommend unbleached all-purpose flour for its taste and texture. If you’re feeling adventurous, try a blend of whole wheat flour for a nuttier flavor.
-
Patience is Key: Allow your dough to rise adequately. The first rise, known as bulk fermentation, may take longer than you expect. This is where the magic happens, developing flavors and texture. Don’t rush it!
-
Autolyse Technique: Mixing flour and water and letting it sit for 20-30 minutes before adding salt and yeast can enhance gluten development, leading to a better structure in your bread.
-
Play with Hydration: A higher hydration dough results in a more open crumb. Don’t be afraid to experiment with the water content to discover the texture you love.
-
Baking Stone or Dutch Oven: Baking your artisan bread in a preheated stone or a covered Dutch oven creates a steam effect that promotes a beautiful crust. If you don’t have one, a heavy baking sheet can work too!
-
Cool Before Slicing: Once your bread has baked to perfection, let it cool completely before slicing. This allows the crumb to set and ensures you get that ideal texture you’re after.
By following these tips, you’ll be well on your way to mastering the art of easy homemade artisan bread, bringing a slice of heaven to your kitchen table!
Time Breakdown for Easy Homemade Artisan Bread
Crafting easy homemade artisan bread can feel like a delightful journey, blending the traditional art of baking with a sprinkle of modern convenience. Here’s a simple breakdown of how your time will be spent, ensuring you can fit this delicious endeavor into your day.
Preparation time
Expect to spend about 15 minutes gathering the ingredients and mixing them together. It’s a straightforward process that invites you to get your hands a little doughy.
Rising time
Once your dough is ready, let it rise for a generous 2 hours. This allows the magic of fermentation to happen, leading to that light, airy loaf you crave.
Baking time
The actual baking only takes about 30 minutes. You’ll start to smell the wonderful aroma wafting through your home, tempting everyone to gather around.
Total time
From start to finish, you’re looking at roughly 2 hours and 45 minutes, but most of that is hands-off time while the dough does its thing. Your patience will definitely pay off!
Nutritional Facts for Easy Homemade Artisan Bread
When making your own easy homemade artisan bread, understanding its nutritional profile can enhance your baking experience. This beloved loaf not only satisfies hunger but also provides essential nutrients.
Calories
A typical slice of this easy homemade artisan bread contains approximately 80 calories. It’s a wholesome option for breakfast or a tasty accompaniment to soups and salads.
Protein
Each slice delivers about 3 grams of protein, making it a decent source of this essential macronutrient. Pair it with your favorite spreads or toppings for a protein boost.
Sodium
With roughly 150 milligrams of sodium per slice, this artisan bread is a heart-healthy choice, especially when compared to many store-bought varieties laden with preservatives and excess salt. Enjoy it guilt-free as part of your daily meals!
FAQs about Easy Homemade Artisan Bread
Creating easy homemade artisan bread is a journey of exploration and delight, and it’s perfectly normal to have some questions along the way. Here are answers to a few common queries that new bakers often have.
Can I use whole wheat flour instead?
Absolutely! Whole wheat flour can be used, but it may change the texture and flavor slightly. The bread will be denser and have a nuttier taste. For best results, try substituting half of the all-purpose flour with whole wheat flour initially. This blend offers a wonderful balance and can ease you into the heartiness of whole grains without sacrificing too much of the lightness of traditional artisan bread.
How do I store the bread?
Storing easy homemade artisan bread properly will help maintain its texture and flavor. For short-term storage, keep your bread at room temperature in a bread box or loosely wrapped in a clean kitchen towel. This allows the crust to stay crisp while preventing moisture loss. If you want to keep it for a longer period, slice the bread and freeze it in an airtight container. Just toast or warm slices straight from the freezer when you’re ready to enjoy.
What if my dough doesn’t rise?
If your dough doesn’t rise as expected, don’t fret. This can happen for a variety of reasons, such as expired yeast or an environment that’s too cold. Try placing your dough in a warmer location, like an oven with the light on, to encourage rising. Additionally, make sure your yeast is fresh—active dry yeast should bubble and foam when mixed with warm water and a bit of sugar. If it doesn’t, your yeast may be inactive, and it might be time for a new packet!
Conclusion on Easy Homemade Artisan Bread
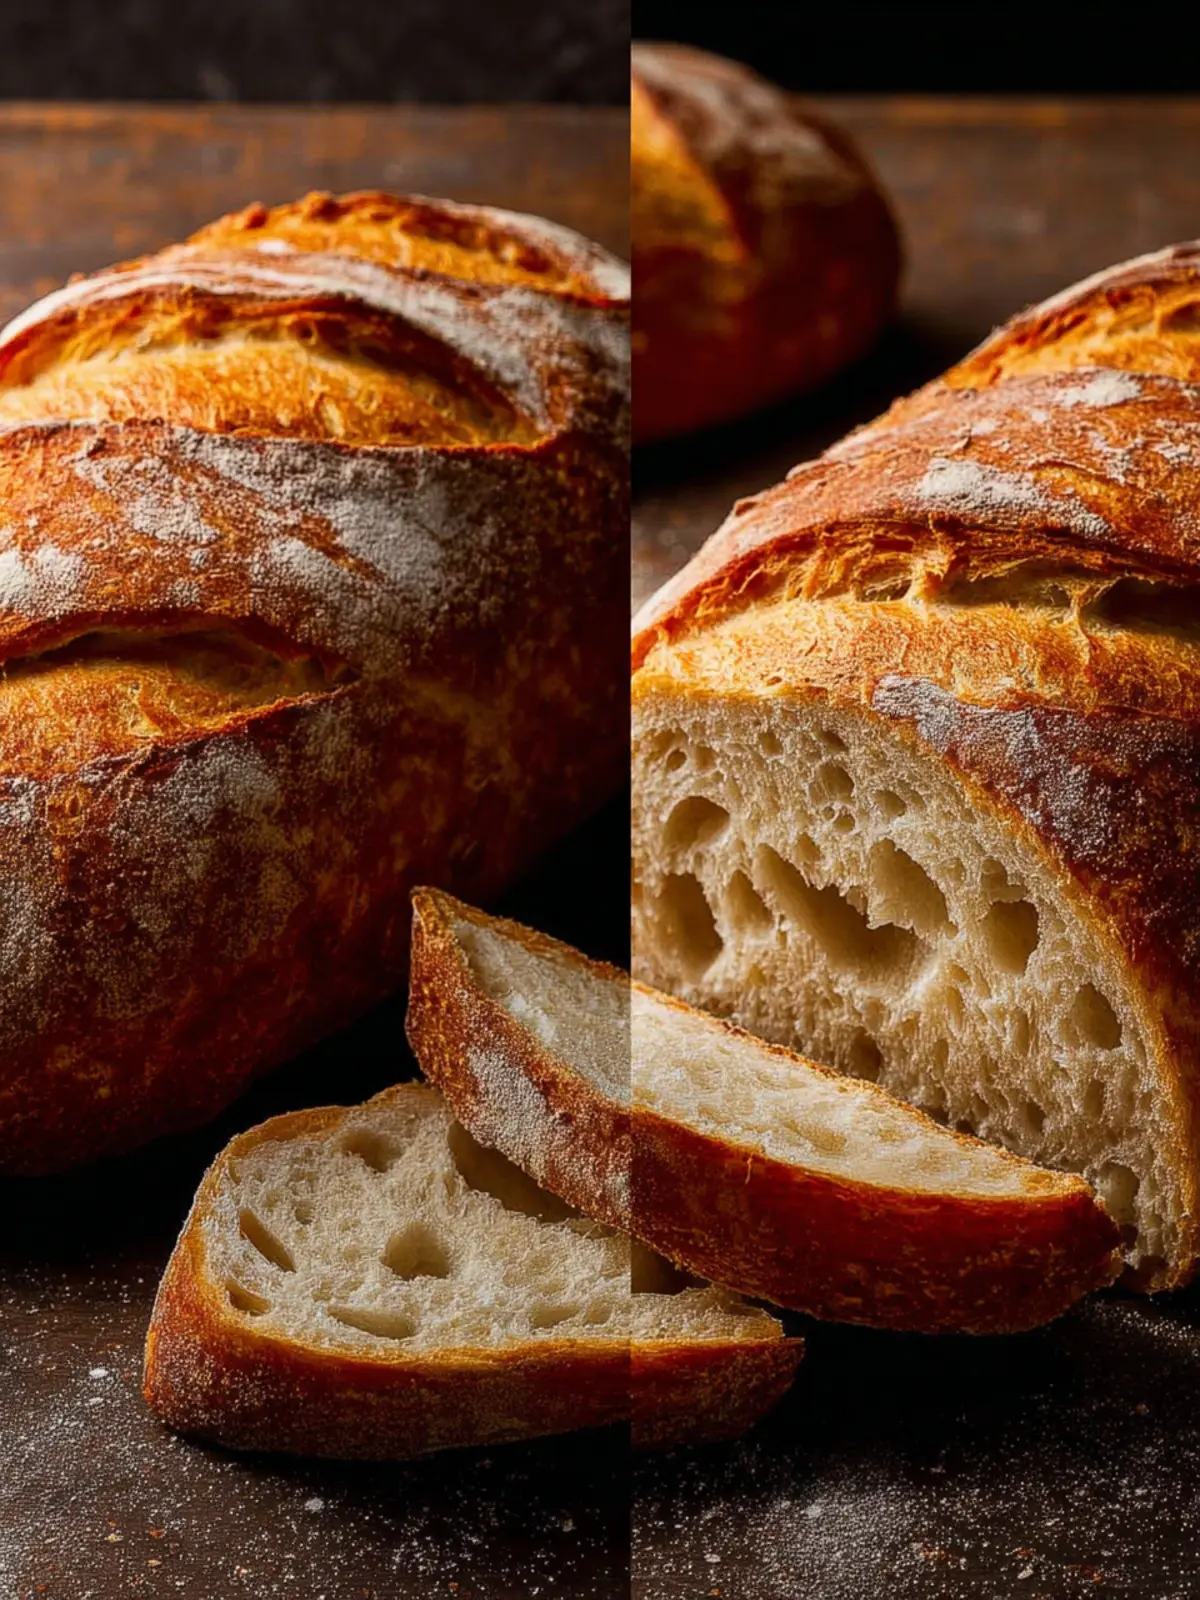
Baking your own easy homemade artisan bread can transform your kitchen into a warm, inviting space filled with the comforting aroma of fresh bread. After following this straightforward recipe, you’ll not only enjoy a delicious loaf but also gain the confidence to experiment with various flavors, toppings, and techniques. Think of the satisfaction of slicing into a crusty exterior to reveal a soft, airy crumb that you’ve created from just a few simple ingredients. Embrace this journey of bread-making, and savor the pride that comes along with sharing your delicious results with family and friends. Happy baking!
Print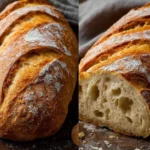
No-Knead Bread
- Total Time: 12 hours 45 minutes
- Yield: 1 loaf 1x
- Diet: Vegetarian
Description
This easy no-knead bread recipe creates a beautifully crusty loaf with minimal effort.
Ingredients
Scale
- 3 cups (375g) all-purpose flour, plus more for dusting
- 1 ¾ teaspoons kosher salt
- ½ teaspoon instant or active dry yeast
- 1 ½ cups (360ml) warm water (about 100-110°F or 38-43°C)
Instructions
- In a large bowl, whisk together the flour, salt, and yeast.
- Pour in the warm water and stir with a sturdy wooden spoon or your hands until a shaggy, sticky dough forms and no dry flour remains. The dough will be quite sticky and loose; this is normal.
- Cover the bowl tightly with plastic wrap or a damp kitchen towel.
- Let the dough rise at room temperature (about 70°F or 21°C) for 12-18 hours. The dough is ready when it’s bubbly on the surface and has roughly doubled in size.
- Generously flour a large piece of parchment paper (about 12×18 inches) and place it on a work surface.
- Using floured hands, gently scrape the risen dough out of the bowl and onto the floured parchment. The dough will be very sticky.
- With floured hands, gently fold the dough over itself a few times, shaping it into a rough ball. Don’t overwork it.
- Use the parchment to lift the dough and transfer it (parchment and all) into a clean, medium-sized bowl or a proofing basket lined with a floured kitchen towel for its second rise.
- Cover the bowl or basket with a damp towel and let the dough rise again for 1-2 hours, until it looks puffy and has increased in size by about half.
- About 30 minutes before the second rise is complete, place a large (5-7 quart) Dutch oven or heavy pot with its lid into your oven. Preheat the oven to 450°F (230°C).
- When the dough is ready and the oven is hot, carefully remove the hot Dutch oven.
- Using the parchment paper as a sling, carefully lower the dough into the hot pot. Be cautious of the hot sides.
- Score the top of the dough about ¼ inch deep with a sharp knife or razor blade.
- Cover with the lid and bake for 30 minutes.
- Remove the lid and continue baking, uncovered, for another 12-17 minutes, or until the bread is deep golden brown and sounds hollow when tapped on the bottom.
- Carefully lift the bread out of the pot using the parchment paper and transfer it to a wire rack. Let it cool completely for at least 1 hour before slicing.
Notes
- This dough is very sticky and loose, so handle with floured hands for easier management.
- Make sure to check the temperature of the water; too hot can kill the yeast.
- If not using a Dutch oven, a heavy pot with a lid will work for baking.
- Letting the bread cool completely is crucial for the best texture when sliced.
- Prep Time: 12 hours
- Cook Time: 45 minutes
- Category: Breads
- Method: Baking
- Cuisine: American
Nutrition
- Serving Size: 1 slice
- Calories: 120
- Sugar: 0.5g
- Sodium: 200mg
- Fat: 0.5g
- Saturated Fat: 0g
- Unsaturated Fat: 0g
- Trans Fat: 0g
- Carbohydrates: 24g
- Fiber: 1g
- Protein: 4g
- Cholesterol: 0mg