Follow Me On Social Media!

Homemade Chocolate Syrup: The Best Indulgent Treat for All!
Introduction to Homemade Chocolate Syrup
There’s an undeniable magic that comes with homemade chocolate syrup. Imagine the rich aroma of melted chocolate cascading through your kitchen, inviting you to indulge in a little sweetness. Creating your own chocolate syrup isn’t just a recipe; it’s an experience, one that transforms simple ingredients into a velvety, aromatic delight that can elevate any dessert or drink. Whether you drizzle it over ice cream, stir it into coffee, or use it as a topping for pancakes, homemade chocolate syrup has the unique ability to bring comfort and joy with every spoonful.
On a rainy afternoon a few years ago, I found myself craving something decadent. After rummaging through my pantry, I gathered some sugar, cocoa powder, and a few other essentials. I decided to whip up a batch of my homemade chocolate syrup, and to my surprise, the process was as satisfying as the final product. The first drizzle over my vanilla ice cream was nothing short of euphoria; the syrup not only added flavor but also a rich, luxurious texture that store-bought versions simply couldn’t match. It’s those little moments where a simple ingredient can turn the ordinary into extraordinary that truly highlights the charm of cooking at home.
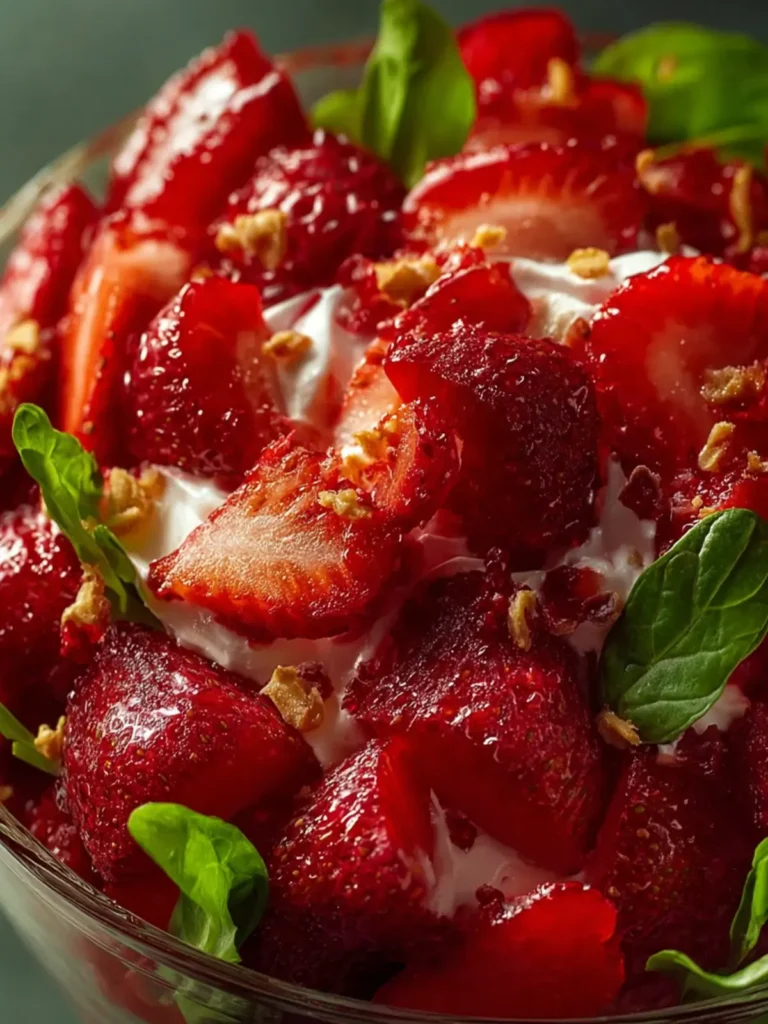
The sweet allure of chocolate
The beauty of homemade chocolate syrup lies in its versatility. Unlike store-bought options packed with preservatives, making it at home allows for customization. You can play with the sweetness, add a pinch of salt to enhance the chocolate flavor, or even throw in a splash of vanilla extract for a richer taste profile. This homemade version is not just a treat for yourself; it’s a perfect gift for friends and family, especially when bottled creatively.
So, are we ready to dive into this delightful homemade chocolate syrup recipe? Let’s gather our ingredients and create something truly special—a sweet addition that brings happiness to your day!

Key Ingredients for Homemade Chocolate Syrup
Creating homemade chocolate syrup is an indulgent experience that makes your dessert or morning coffee truly special. The beauty of this recipe lies in its simplicity and the quality of ingredients you choose to use.
Cocoa Powder: Opt for unsweetened cocoa powder for a rich chocolate flavor. I recommend a high-quality brand because the chocolatey depth it brings makes all the difference.
Sugar: White granulated sugar adds the sweetness that balances the bitterness of the cocoa. This blend is essential to create that classic syrupy texture without overdoing the sweetness.
Water: A necessary base, water helps dissolve the sugar and cocoa. Use filtered water to enhance the purity of flavors in your syrup.
Vanilla Extract: A hint of pure vanilla extract elevates the chocolate flavor, creating an aroma that’s undeniably comforting and familiar.
Salt: Just a pinch of salt intensifies the chocolate flavor, making the syrup even more delectable.
With these ingredients in your pantry, you’re well on your way to whipping up a luscious batch of homemade chocolate syrup that will have everyone wanting more!
Why You’ll Love This Homemade Chocolate Syrup
Indulging in homemade chocolate syrup isn’t just about satisfying a sweet tooth; it’s about creating delightful memories in your kitchen. Picture this: a chilly Saturday morning, the fragrance of fresh pancakes sizzling on the griddle, and you drizzle your own rich chocolate syrup over the fluffy stacks. Instantly, you’re transported to your childhood, where every bite felt like a warm hug from mom.
Fresh and Tailored to Your Taste
One of the best parts about making your own chocolate syrup is that you get to customize it. Want it a little sweeter? Adjust the sugar to your liking! Prefer a deeper chocolate flavor? Add extra cocoa powder. With homemade chocolate syrup, you have control over ingredients, eliminating preservatives and artificial flavors found in store-bought versions.
Versatile Uses
The uses for this syrup are endless! Use it as a topping for ice cream, mix it into your morning coffee, or even incorporate it into baking recipes. Its versatility is truly remarkable, and each application brings forth new culinary adventures.
Simple Ingredients, Unforgettable Taste
You’ll love that the homemade version uses simple ingredients that you probably already have in your pantry. No complicated processes, just a few steps to thick, velvety smooth chocolate goodness. Trust me, once you try it, you’ll never look at store-bought syrup the same way again!

Variations of Homemade Chocolate Syrup
Crafting your very own homemade chocolate syrup opens up a delightful world of creativity. Whether you’re drizzling it on desserts or mixing it into your morning coffee, there are countless ways to personalize this sweet treat. Here are a few variations that can elevate your syrup game:
Minty Fresh
Add a splash of peppermint extract to infuse your syrup with a refreshing mint flavor. This variation is perfect for decorating hot chocolate or drizzling over vanilla ice cream for a festive touch.
Spicy Kick
For those who love a little heat, mix in a pinch of cayenne pepper or ground cinnamon. Imagine how good a dollop of chocolate syrup with a hint of spice would taste on a rich brownie!
Nutty Twist
Incorporate a tablespoon of hazelnut or almond extract to give your homemade chocolate syrup a nutty depth. Drizzle it over pancakes or waffles for a delightful breakfast surprise.
Coffee Infusion
For coffee lovers, adding a shot of espresso or coffee extract elevates your syrup to a luxurious complement to your morning brew.
With these variations, your homemade chocolate syrup can perfectly adapt to match any mood or occasion!
Cooking Tips for Homemade Chocolate Syrup
Creating homemade chocolate syrup is not only an indulgent treat but also a delightful experience that elevates your desserts. Here are some handy tips to ensure your syrup turns out rich and velvety every time.
Use Good Quality Cocoa Powder
When making homemade chocolate syrup, the type of cocoa powder you use matters a lot. Opt for a high-quality Dutch-processed or natural cocoa powder. This ensures a deep chocolate flavor that is both smooth and rich. I remember the first time I tried a premium cocoa powder—it completely transformed my syrup!
Adjusting Consistency
If your syrup feels too thick, don’t panic! You can easily tweak it. Simply add a tablespoon of water at a time while warming it on the stove. This will help you reach your desired consistency. The key is to stir continuously for that perfect pourable texture.
Sweetness Levels
Taste your syrup as you go! Different sweeteners will yield different levels of sweetness. If you like less sweetness, reduce the sugar slightly. I often play around with it until I discover the perfect balance.
Cool and Store Properly
Once your homemade chocolate syrup is prepared, let it cool completely before transferring it to a bottle. It can be stored in the fridge for up to two weeks. Use an airtight container to keep it fresh!
Enjoy Creatively
Don’t forget that your delicious syrup isn’t just for ice cream or pancakes. Think about drizzling it over fruit, incorporating it into cocktails, or even using it as a cake topping! Experiment and let your creativity shine.
Serving Suggestions for Homemade Chocolate Syrup
Imagine a lazy Saturday morning, the sun peeking through your window, and the rich aroma of freshly brewed coffee filling the air. That’s the perfect backdrop for enjoying homemade chocolate syrup, a delightful treat that can elevate your breakfast and snacks to gourmet status!
Drizzled Delight on Breakfast Treats
- Pancakes and Waffles: Start your day with drizzles of homemade chocolate syrup over fluffy pancakes or crispy waffles. The combination of warm syrup with butter creates an indulgent experience!
- French Toast: Swap maple syrup for chocolate syrup to transform your classic French toast into a decadent dessert-like dish.
A Sweet Addition to Beverages
- Milkshakes: Blend your favorite flavors with a generous swirl of syrup for a rich milkshake. Just think of the creamy chocolate goodness enhancing your vanilla or coffee creations.
- Hot Chocolate: For a special touch on chilly nights, stir in homemade chocolate syrup to your hot milk. It’s a warm hug in a cup!
Dessert Enhancer
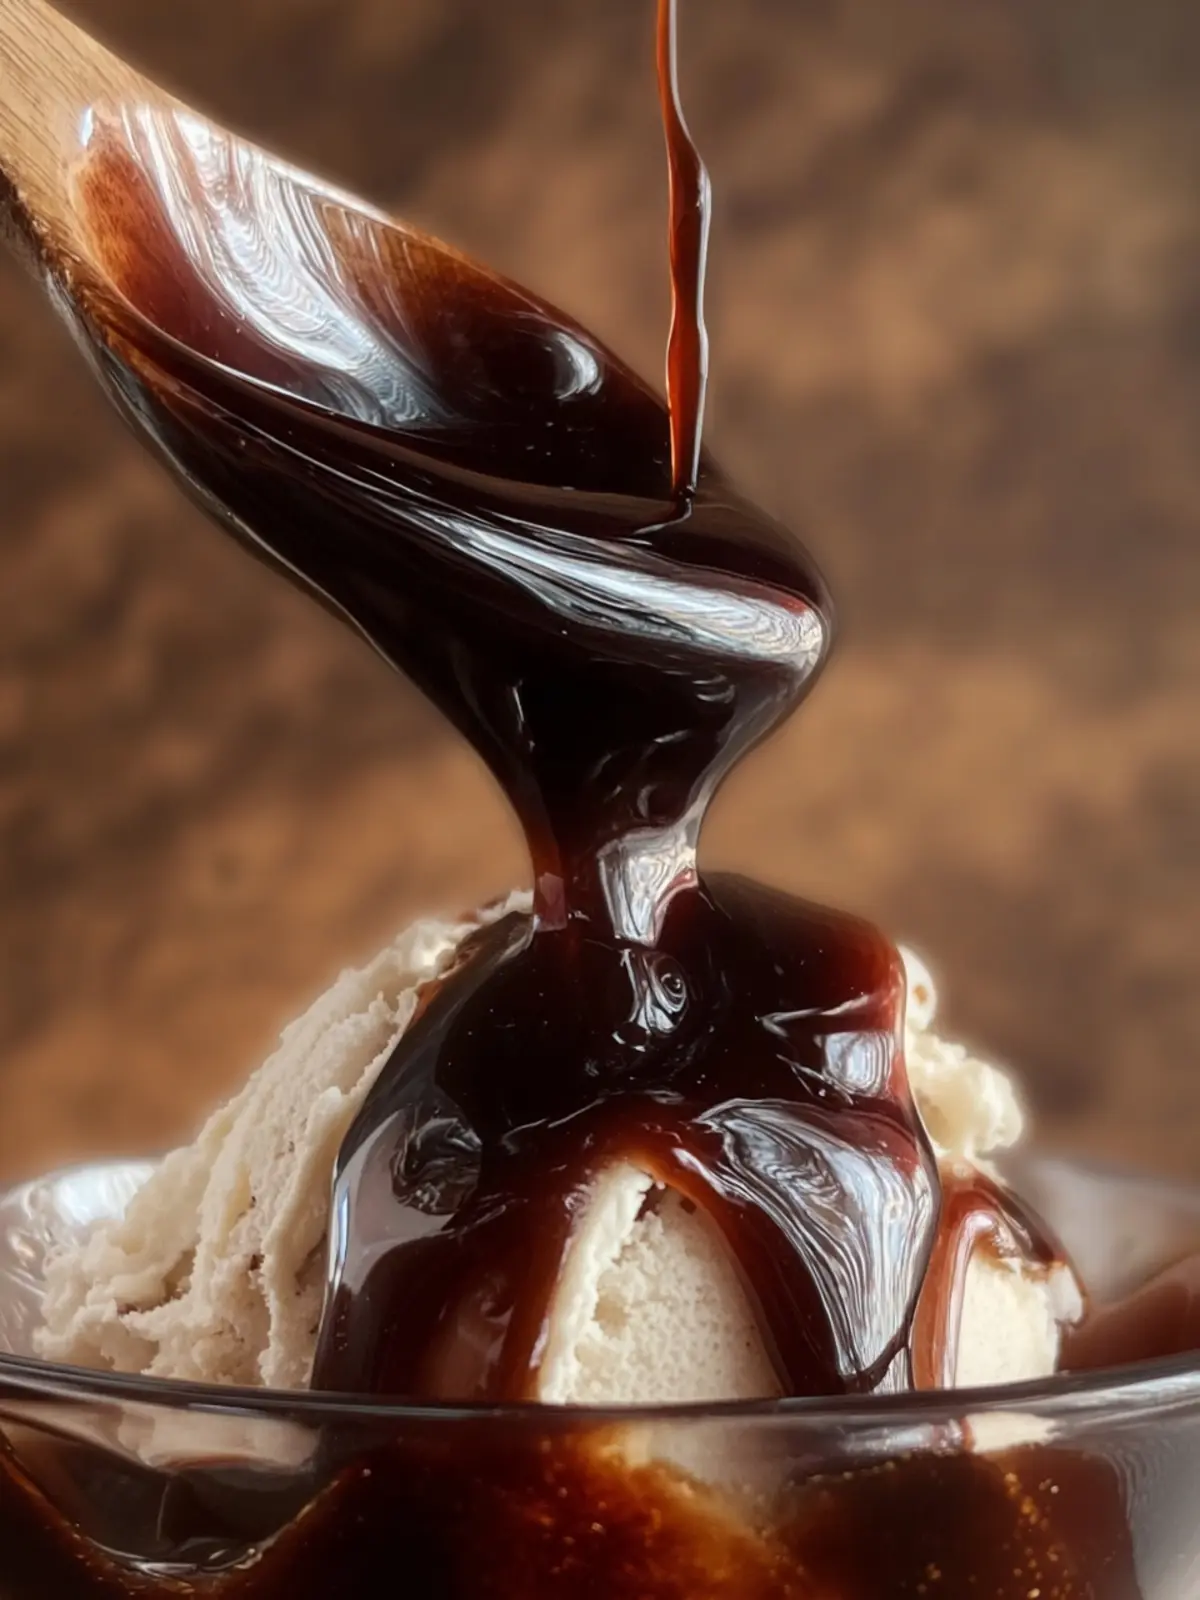
- Ice Cream Topping: Pour over vanilla ice cream for a classic sundae or mix with other toppings for a unique sundae combination.
- Brownie or Cake Drizzle: A drizzle of chocolate syrup over warm brownies or cakes adds a finishing touch that’s simply irresistible.
With these suggestions in mind, you’re all set to enjoy the luscious flavors of your homemade chocolate syrup in every tantalizing bite!
Time Breakdown for Homemade Chocolate Syrup
Creating your own homemade chocolate syrup is both a rewarding and tasty adventure, and a little planning goes a long way toward maximizing your enjoyment of this delightful treat.
Preparation Time
Before diving into cooking, allocate about 10 minutes for gathering your ingredients and measuring everything out. This groundwork is essential for a smooth cooking experience.
Cooking Time
The actual cooking of your homemade chocolate syrup takes roughly 15 minutes. Just mix your cocoa powder, sugar, water, and a pinch of salt in a saucepan, and bring it to a gentle boil while stirring. It’s during this time that the rich chocolate aroma will start tempting your taste buds!
Cooling Time
Once cooked, your syrup needs about 30 minutes to cool down. This step is vital as it allows the syrup to thicken perfectly. Patience is key here, but trust me, the wait is worth it!
Nutritional Facts for Homemade Chocolate Syrup
When crafting your own homemade chocolate syrup, understanding its nutritional profile can enhance your enjoyment and creativity in the kitchen. Here’s a brief look at what you’re indulging in when you whip up this sweet treat.
Calories
A typical serving of your homemade chocolate syrup packs around 50 calories. This makes it a delightful addition to desserts or beverages without overwhelming your daily intake.
Sugar
With about 12 grams of sugar per serving, this syrup caters to your sweet tooth while allowing for a personalized touch—consider using less sugar if you prefer a lighter flavor.
Fats
Your homemade chocolate syrup is virtually fat-free, making it a guilt-free option for drizzling over ice cream or mixing into your morning coffee. Enjoy the rich chocolatey goodness without the worry!
FAQs about Homemade Chocolate Syrup
Making homemade chocolate syrup is just the beginning of your flavor journey. Whether you’re drizzling it over ice cream or incorporating it into your baked goods, you’ll likely have questions about this delicious concoction. Here are some commonly asked questions to help you maximize your chocolate syrup experience.
How long can I store homemade chocolate syrup?
Storing your homemade chocolate syrup is straightforward! You can keep it in an airtight container in the refrigerator for up to one month. Just make sure to give it a gentle stir before each use, as it may thicken or separate over time. If you’re looking to extend shelf life, consider canning it—though I’ve found that a month is generally long enough to enjoy every drop.
Can I use dark cocoa powder instead?
Absolutely! If you prefer a richer, more intense flavor, feel free to swap regular cocoa powder for dark cocoa powder in your homemade chocolate syrup recipe. Just keep in mind that the color of your syrup will deepen significantly, resulting in a bold, dark hue. This variation can also enhance the chocolatey flavor profile, making it perfect for drizzling over desserts.
What are the best ways to use chocolate syrup?
The options for using your homemade chocolate syrup are practically endless. Here are some delightful ideas to get you started:
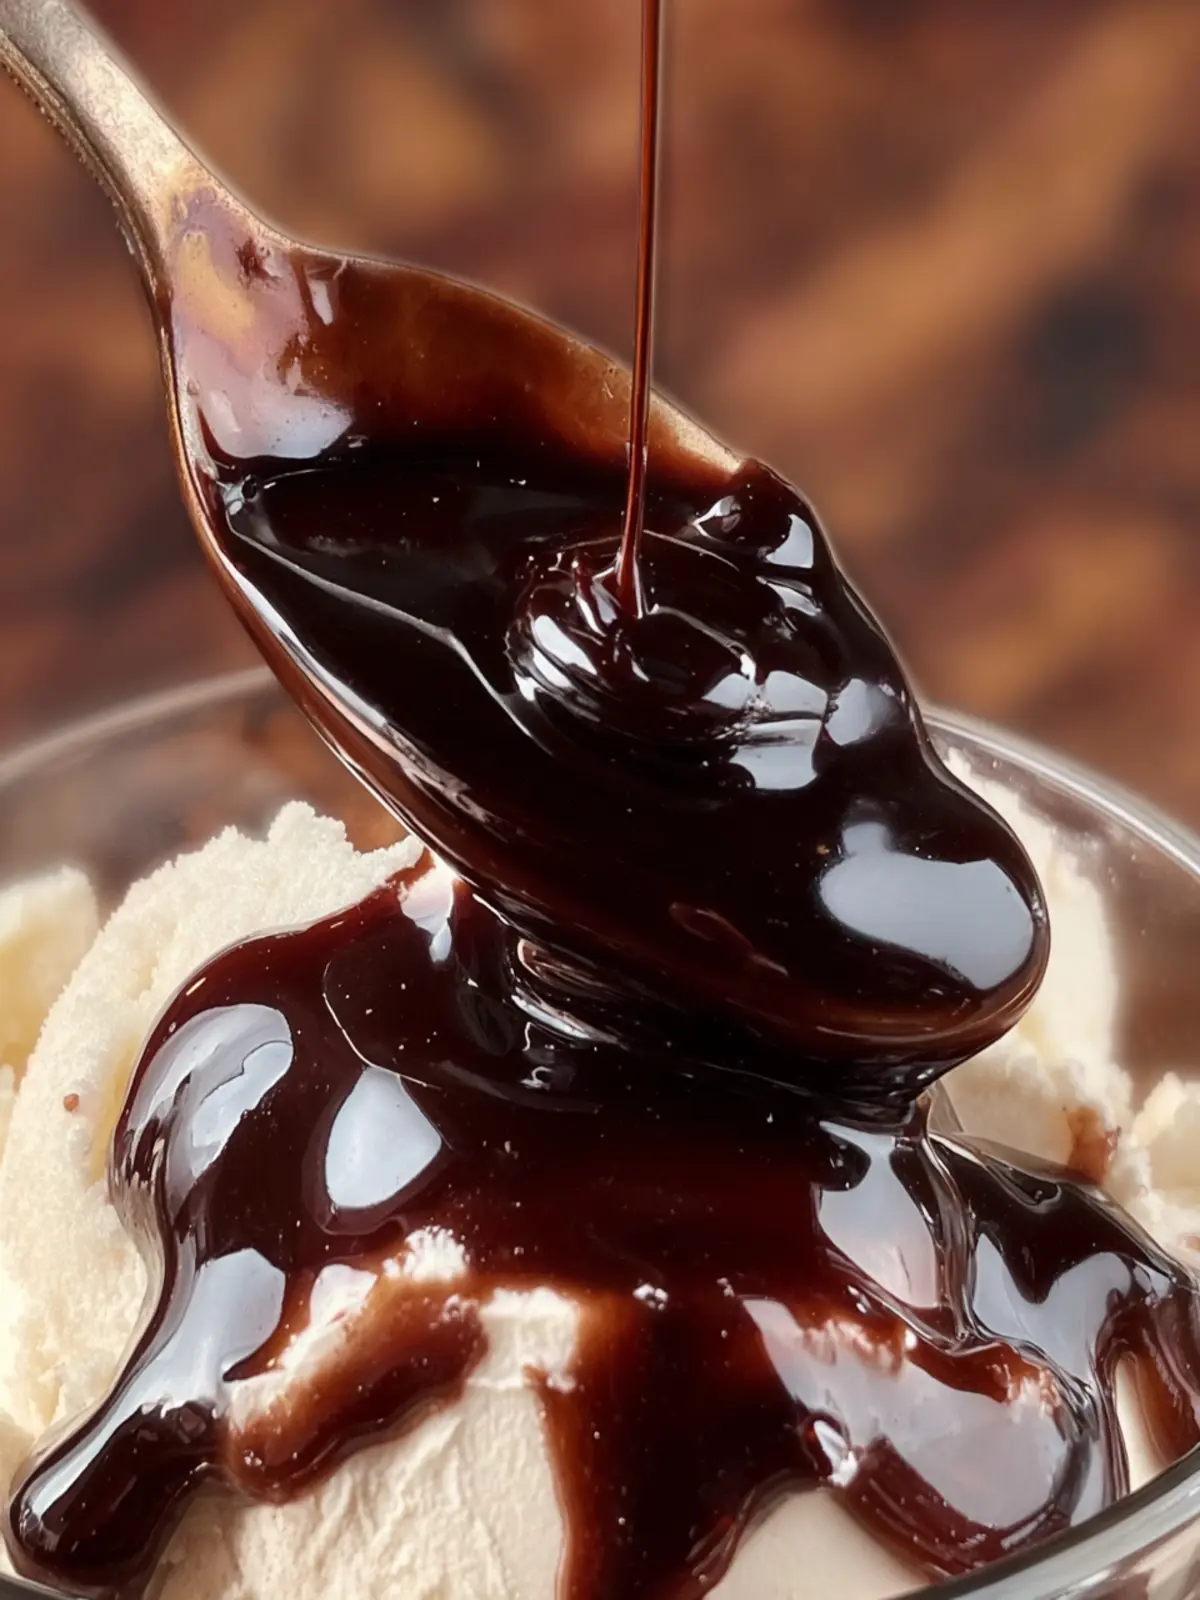
- Ice Cream Topping: An obvious choice, but classic! Drizzle over your favorite scoops.
- Chocolate Milk: Mix a tablespoon with cold milk for a quick chocolate treat.
- Pancakes & Waffles: Transform breakfast into a sweet affair by adding a splash of syrup.
- Baking: Incorporate it into brownie or cake batter for an extra layer of chocolate flavor.
- Coffee: Add a swirl to brighten up your morning brew.
Enjoy experimenting with your homemade chocolate syrup—each use reveals a new layer of deliciousness!
Conclusion on Homemade Chocolate Syrup
Creating your own homemade chocolate syrup is not only rewarding but also a fantastic way to elevate a variety of treats. Picture drizzling this rich syrup over ice cream, pancakes, or even mixing it into your favorite milkshake. The beauty of making it at home is knowing exactly what goes into it, ensuring it’s free from undesired preservatives and additives. Trust me, once you taste the depth of flavor that comes from fresh ingredients, you won’t want to go back to store-bought. So, gather your ingredients, channel your inner chocolatier, and enjoy this delightful creation!
Print
Chocolate Syrup
- Total Time: 15 minutes
- Yield: 1 cup 1x
- Diet: Vegetarian
Description
A rich and delicious homemade chocolate syrup perfect for serving over ice cream or desserts.
Ingredients
Scale
- ¾ cup water
- ¾ cup white sugar
- ½ cup Dutch cocoa powder
- ½ dash salt
- 1 tsp espresso powder
- 1 Tbsp vanilla extract
- Optional Tillamook Vanilla Bean Ice cream (for serving)
Instructions
- Combine water, sugar, cocoa powder, espresso powder, and salt together in a saucepan over high heat.
- Whisk constantly until the mixture starts to thicken and then turn down to simmer for a few minutes.
- Remove from the heat and stir in the vanilla.
- Allow the syrup to cool.
- Serve the syrup warm or pour it in a bottle to keep in the fridge until ready to serve.
Notes
- This syrup can be stored in the refrigerator for up to two weeks.
- It’s great over pancakes or waffles too!
- Prep Time: 5 minutes
- Cook Time: 10 minutes
- Category: Dessert
- Method: Stovetop
- Cuisine: American
Nutrition
- Serving Size: ¼ cup
- Calories: 150
- Sugar: 30g
- Sodium: 10mg
- Fat: 0g
- Saturated Fat: 0g
- Unsaturated Fat: 0g
- Trans Fat: 0g
- Carbohydrates: 36g
- Fiber: 2g
- Protein: 2g
- Cholesterol: 0mg